So after staring at this vintage
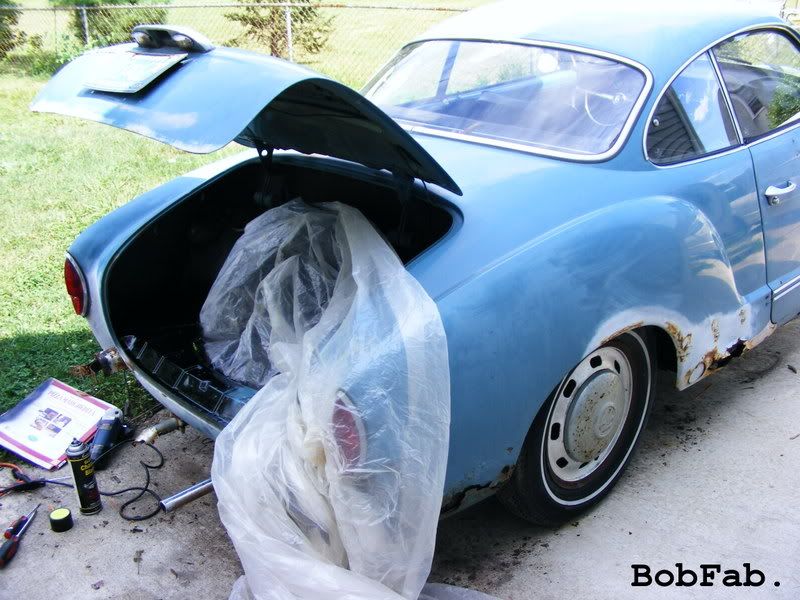
VW in my driveway for the past couple weeks the time has come to start wrenching! The obvious issues with the
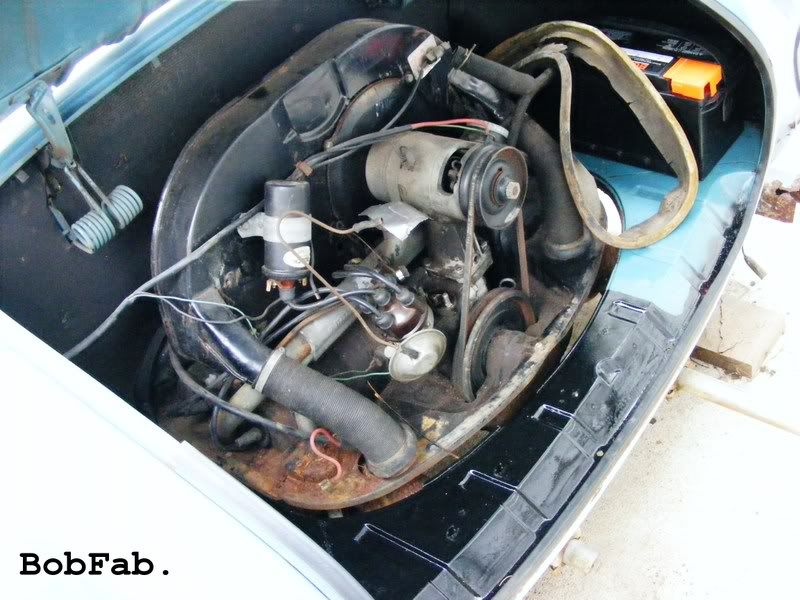
Ghia are the body damage and
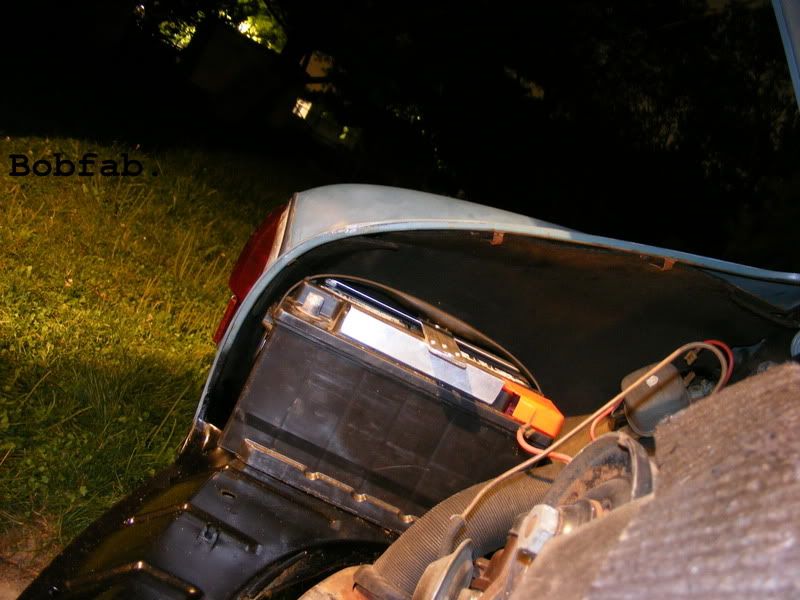
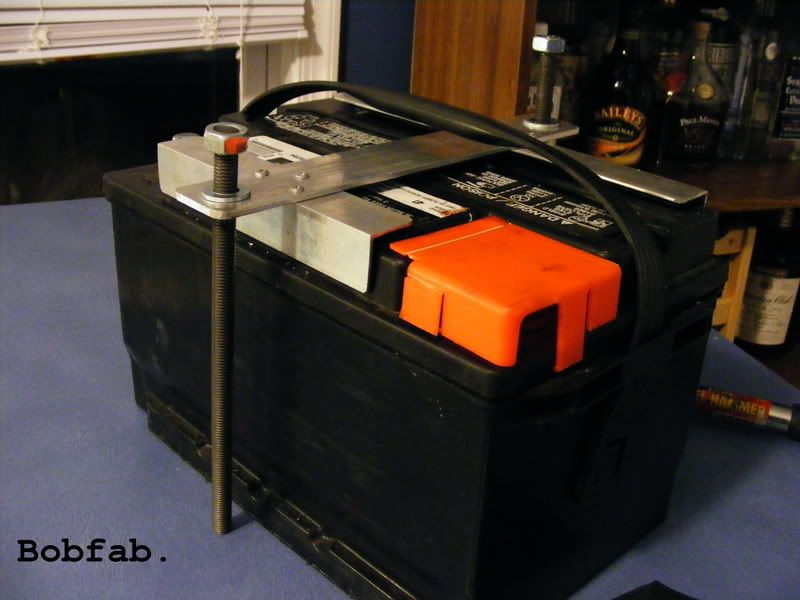
nonrunning motor. Rather than tackling the exterior body work first i decided to concentrate on the cars vitals. The project was received without a battery, which was no problem b/c the original battery was probably cooked anyway. I was able to reuse the Bosch Premium Battery left over from the rabbit project! Next I sourced some metric fasteners and proceeded to overbuild an
aluminum battery tie down.
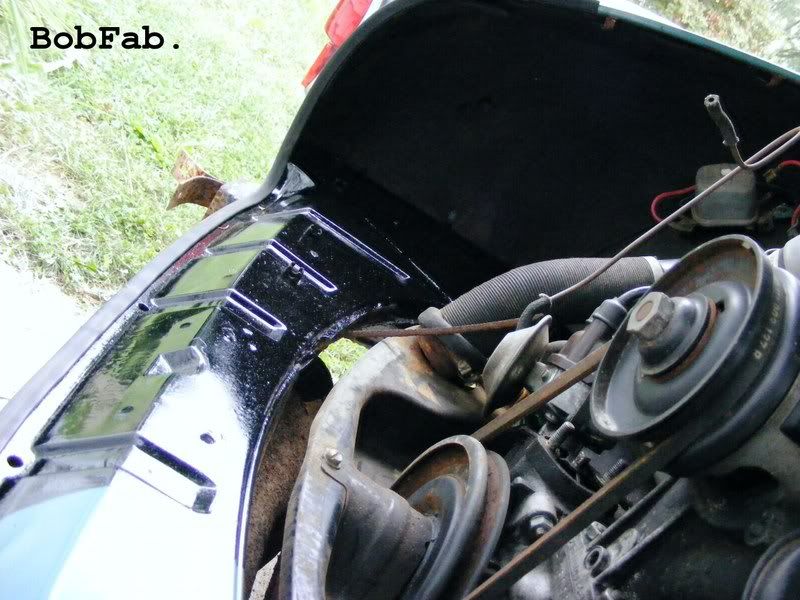
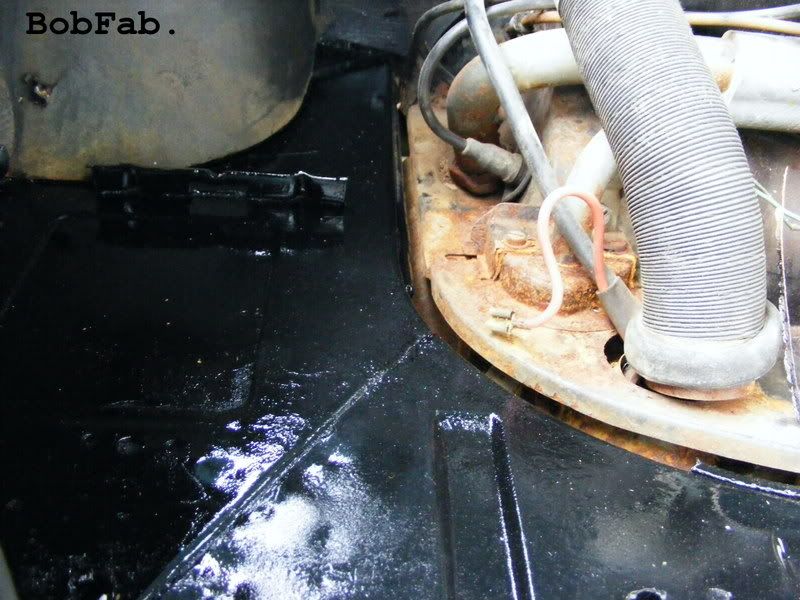
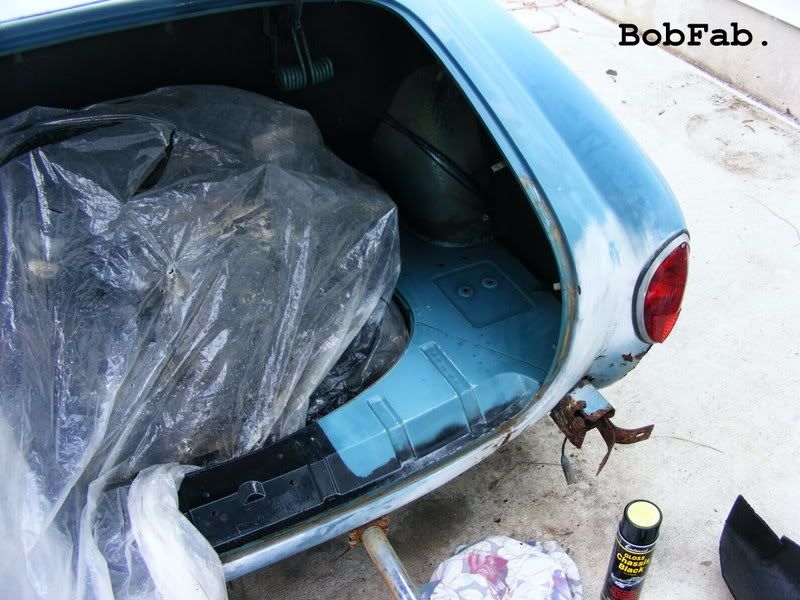
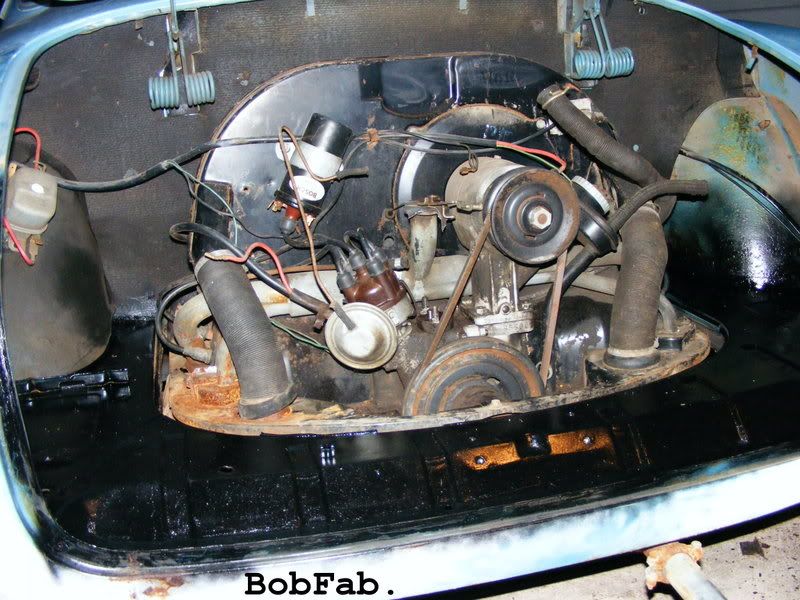
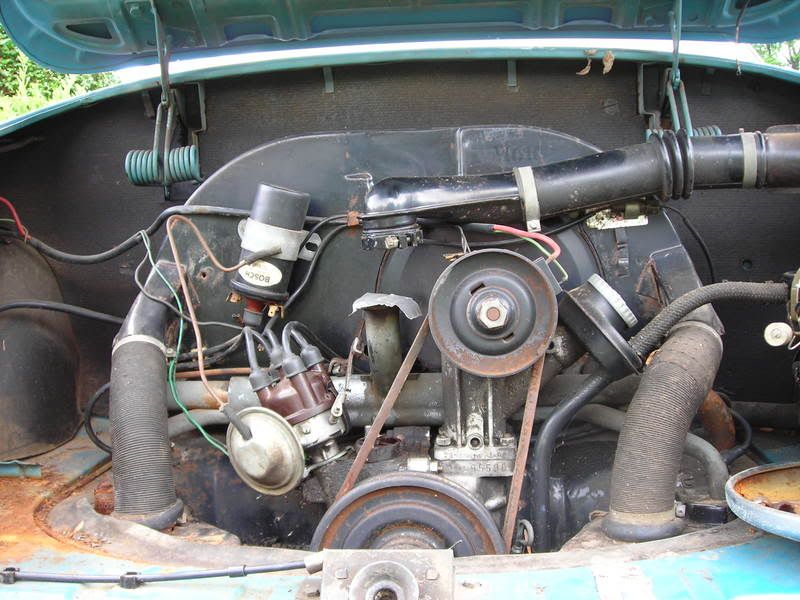
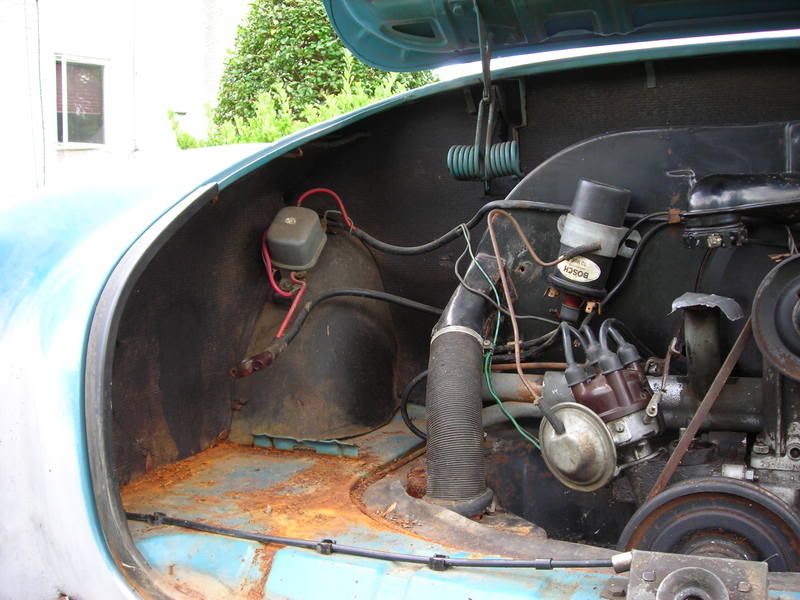
Although i said i would not get involved with bodywork until a later date there were some areas in the engine bay that needed some immediate attention in order to prevent weathering. I removed all of the side paneling and gaskets, stripped down damage metal, prepped the solid portions, and painted the entire bay
Eastwood chassis gloss black. So far i have had great
success with this paint and though the finish
isn't show quality it has proven to cover well & be quite durable.
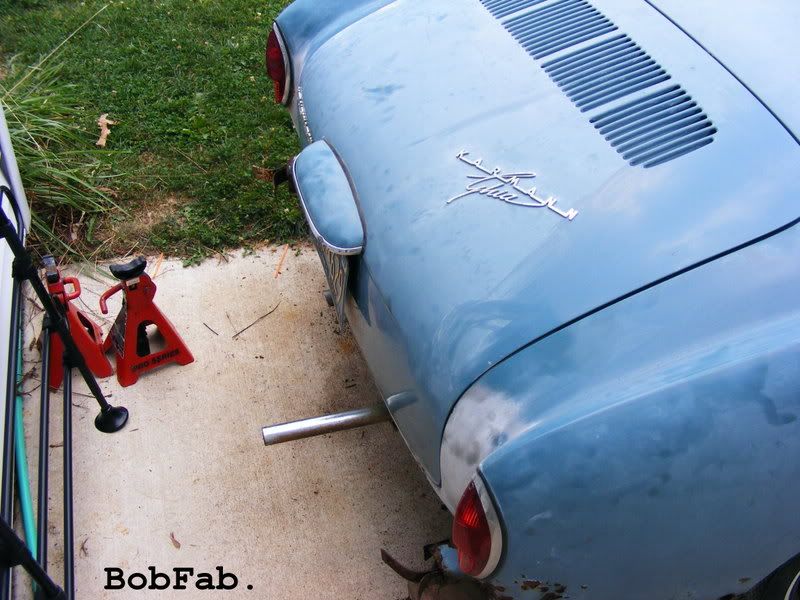
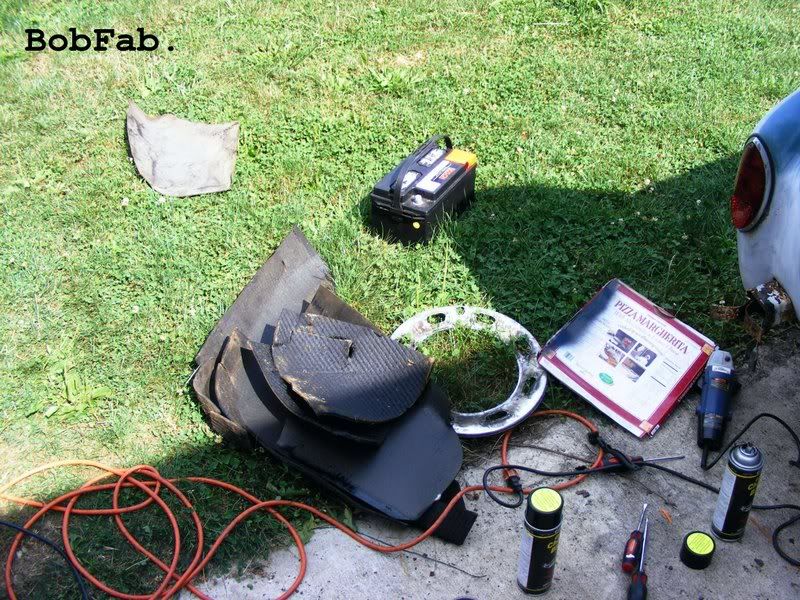
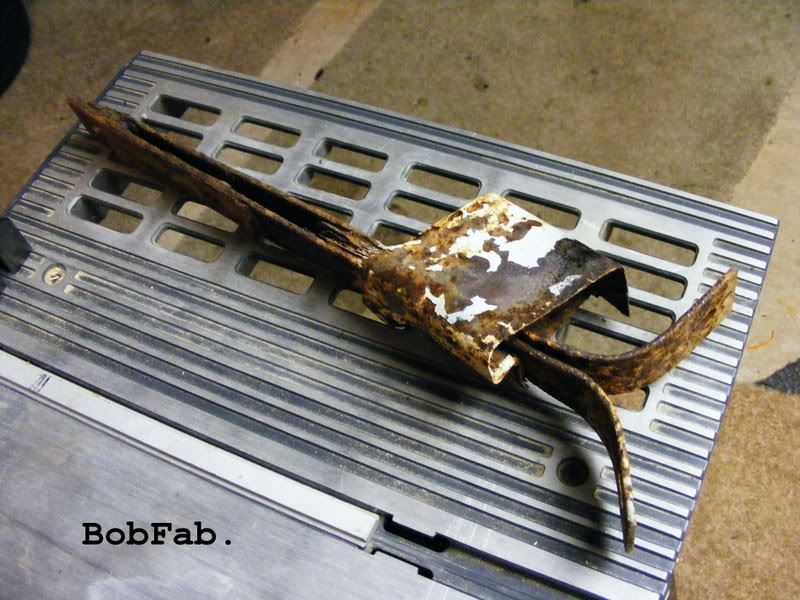
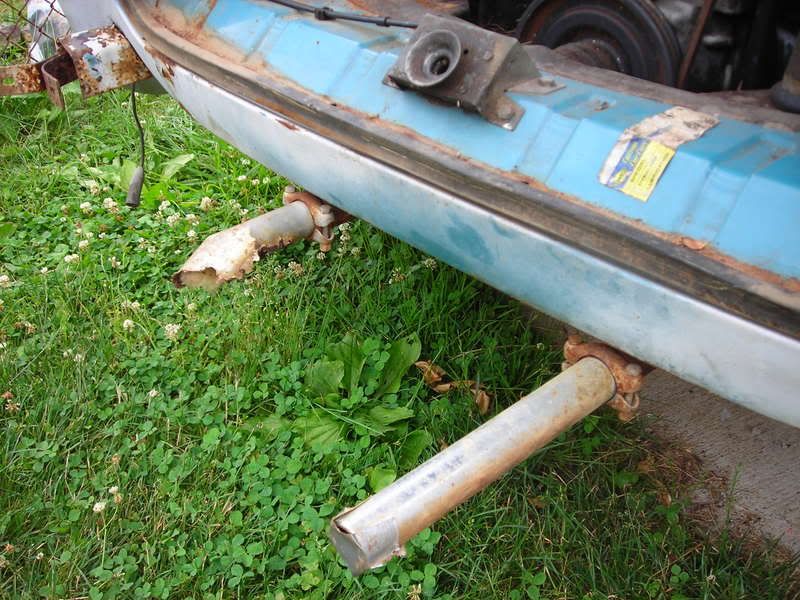
-Removing the rear bumper brackets and shrouds (1 bolt had to be massaged off with the grinding wheel while the other three just broke off)
Some Before Pictures for reference:
There are many more parts and updates
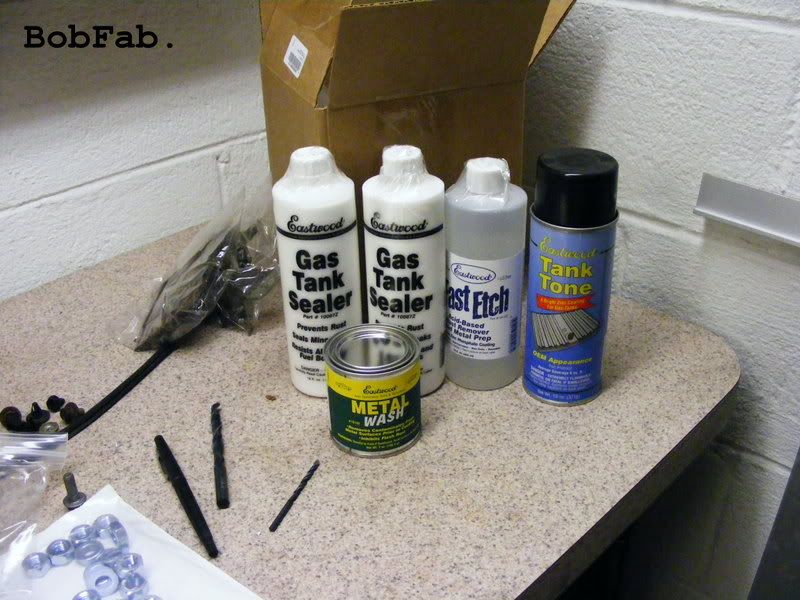
enroute! The next project i would like to conquer is to restore the gas tank.
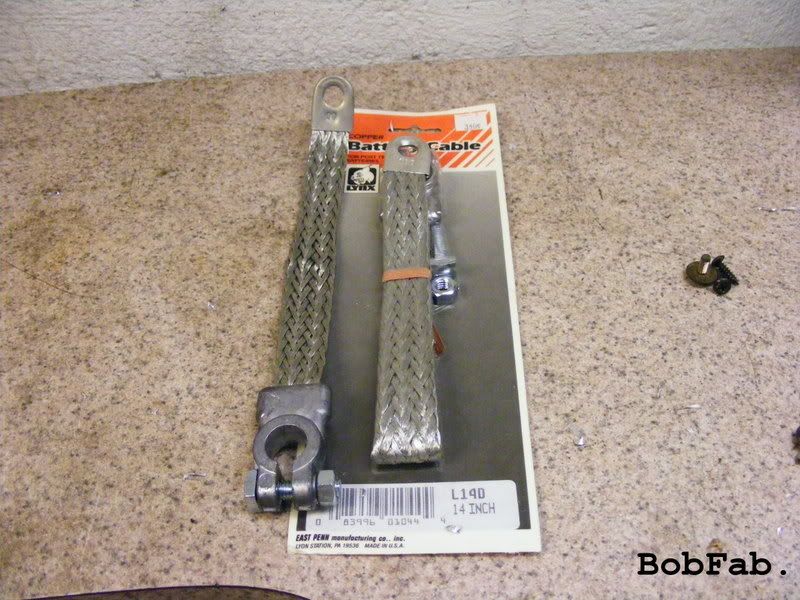
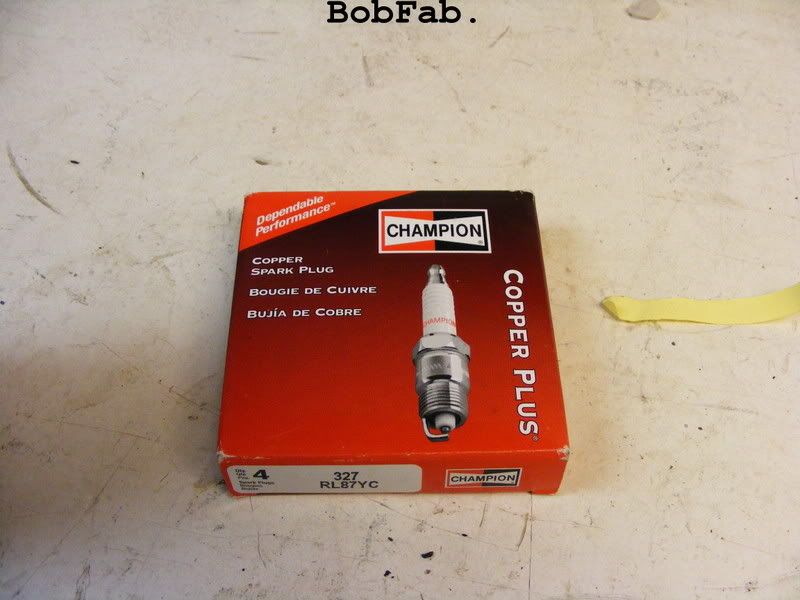


 So after staring at this vintage VW in my driveway for the past couple weeks the time has come to start wrenching! The obvious issues with the Ghia are the body damage and nonrunning motor. Rather than tackling the exterior body work first i decided to concentrate on the cars vitals. The project was received without a battery, which was no problem b/c the original battery was probably cooked anyway. I was able to reuse the Bosch Premium Battery left over from the rabbit project! Next I sourced some metric fasteners and proceeded to overbuild an aluminum battery tie down.